Countdowns, clock and stopwatch
Put a countdown on the projector before the service, show the time or run a stopwatch, and build your own timer scenes.
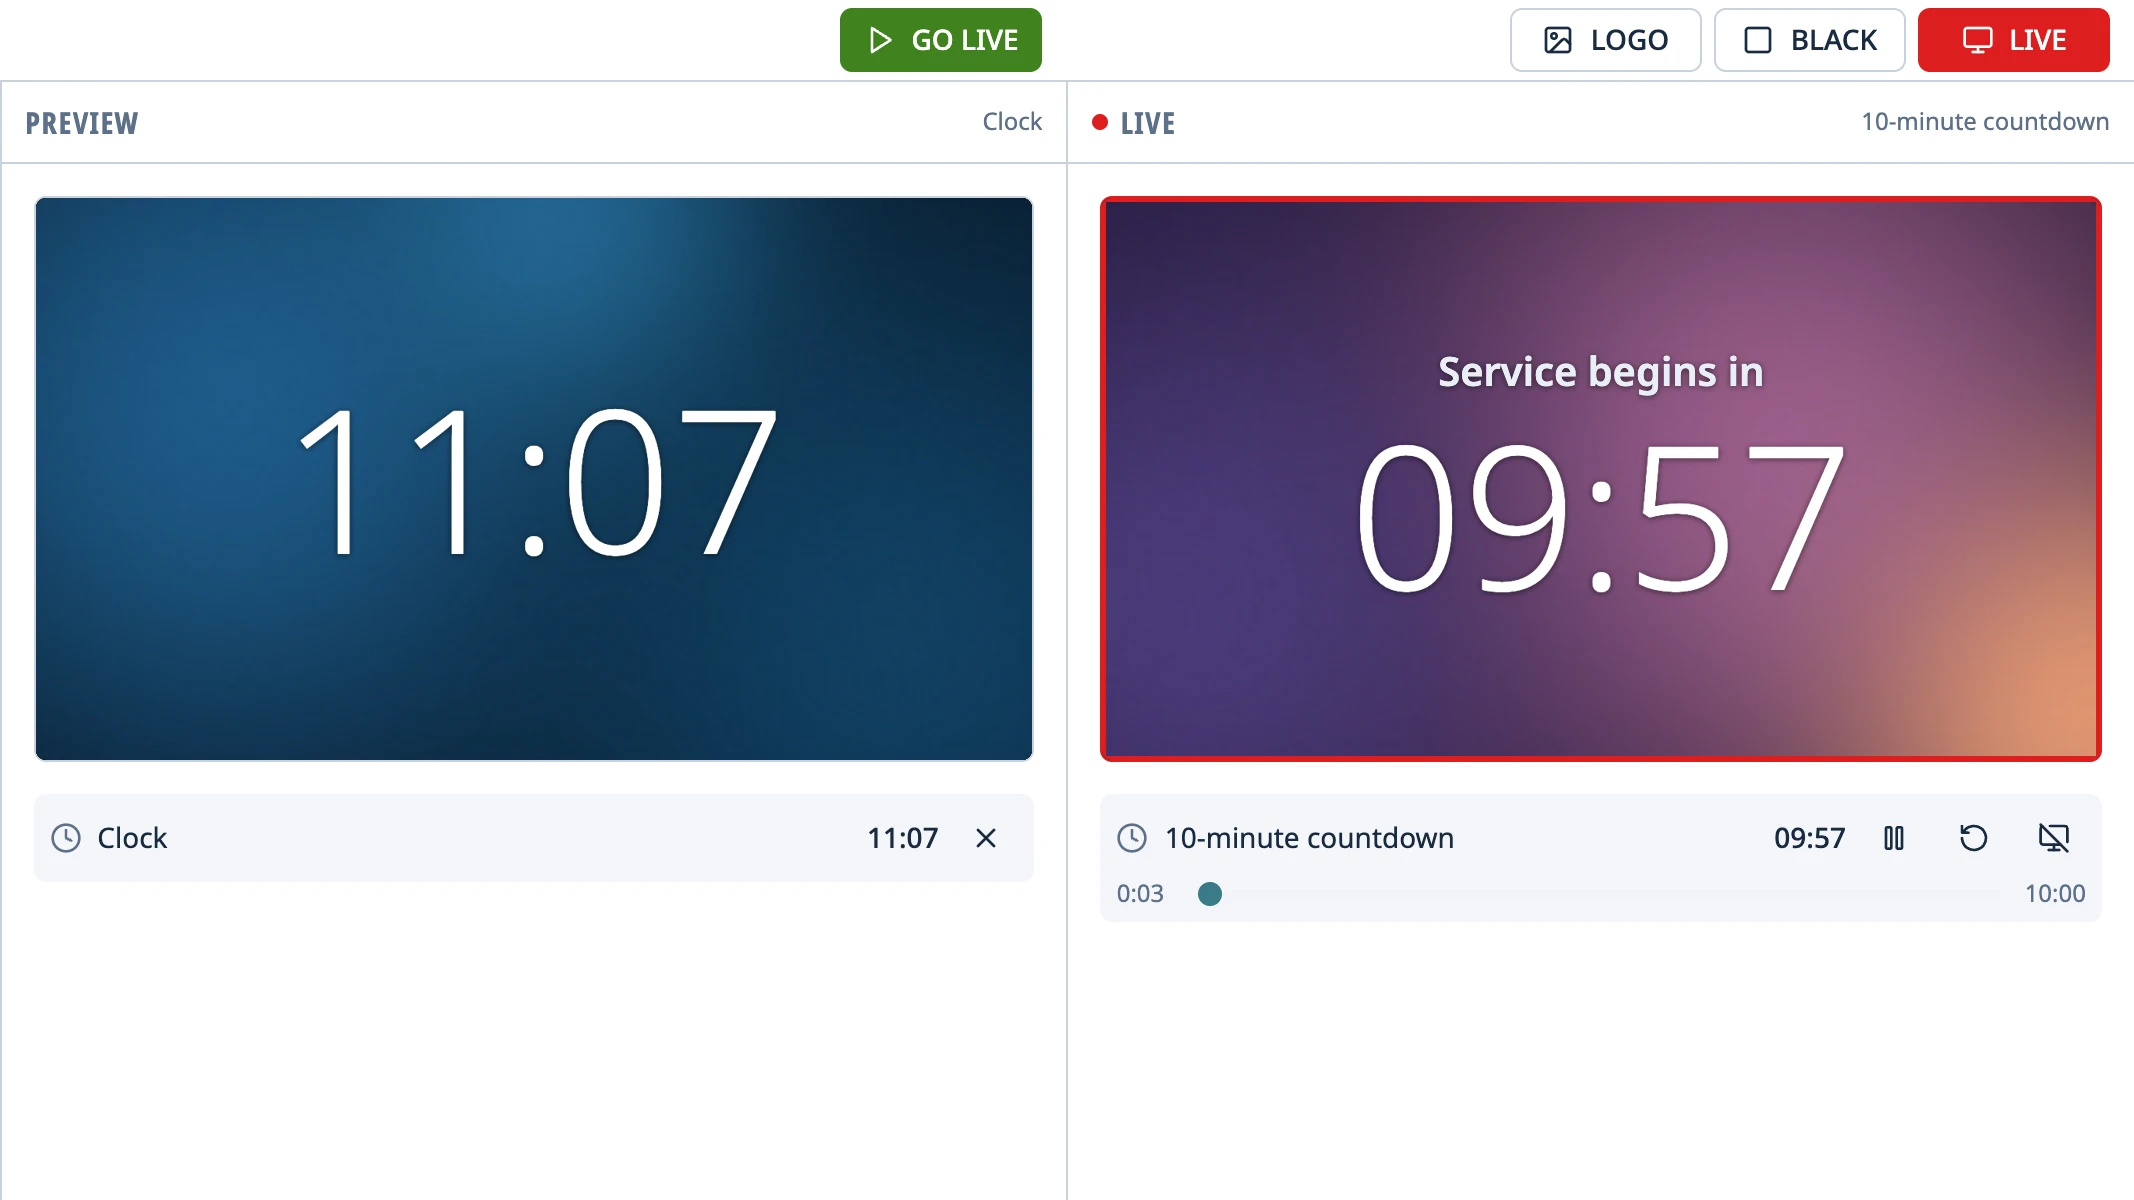
Timer scenes are in Functions › Timers. The app comes with four: “10-minute countdown”, “10:00 start”, “Clock” and “Stopwatch” (named in the language the app first opened in). You can edit, duplicate or delete them, and make your own. Above the list you can Sort (by name, by date or in your own order) and Search by name….
| Type | What it shows |
|---|---|
| Countdown | Counts down from a duration, for example 10 minutes. |
| Countdown to time | Counts down to a time today, for example to 10:00. If that time has already passed, it starts at zero (or below zero, with Count below zero). |
| Clock | The computer's time. |
| Stopwatch | Counts up from zero. |
Project a scene
Click the scene. It shows up in Preview, not running yet.
Click GO LIVE. A countdown or stopwatch that hasn't been started starts automatically.
A Countdown or Stopwatch has controls under Preview and in the Live panel: ▶ to start or resume, ❚❚ to pause, and the circular arrow to reset it. On a countdown, drag the bar to add or remove time. The Clock and Countdown to time can't be paused, since they follow the computer's clock.
You can also start it in Preview without projecting it and send it live later; it keeps counting from where it was. While it runs, its row in the list shows the time (in red at zero) and, for a countdown or stopwatch, a button to stop and reset it. Its row under Preview or Live says Ended when it hits zero.
At zero, the scene changes automatically, depending on how it's set up. It can show a message (“Welcome!” in the included scenes), switch to warning colors or hide the number.
Create or edit a scene
Click the stopwatch icon at the bottom left (Edit scenes). The editor opens full screen.
Click New scene at the top of the list on the left, or choose an existing scene. Type the name at the top.
On the right, choose the Type and enter the time. In Duration, “10” means ten minutes, and
MM:SSandH:MM:SSwork too. In Time, enter a time today in 24-hour format, like10:30.Type the Top line and Bottom line (for example, “Service begins in”), then choose the background and the font and colors for each line and for the number. The preview shows how it looks, and Counting and At the end below it show it while counting and at zero.
Click Save (or Ctrl + S; ⌘ + S on Mac).
| Option | What it does |
|---|---|
| 12-hour format and Show seconds | How the Clock shows the time: with AM/PM, and with seconds. |
| Hide zero hours | “09:58” instead of “0:09:58” while there's less than an hour to go. |
| Count below zero | On a countdown, keeps counting past zero instead of stopping at 00:00. |
| When the countdown ends | For countdowns: the End message, which replaces the bottom line; Hide the clock; Hide the top line; and the Transition from the counting look to the end look. |
| Colors as it nears zero | With Change color on, the number turns the Warning color when the time in Warn at is left, and the End color at zero. |
- The ⋯ menu (More actions) has Duplicate and Delete. If the scene is used in saved schedules, the app lists them, and Delete anyway removes it from those too. If it's live, it stays on screen until you send something else.
- To set your own order, drag the scenes in the editor's list.
- If you close with unsaved changes, it asks first.
Tip: Saving a scene that's live updates the projector without interrupting the count. Changing its Type, though, restarts it.
Scenes can go in the schedule too. Select one and click Add, or drag it in.
Something didn't work the way the guide says? Tell us on GitHub what you did, what you expected and what happened, and we'll see whether the app or the guide needs fixing. Report a problem (opens in a new tab)