The control window
The three columns of the window you work in, and what each button on the top bar does.
The control window reads left to right, in the order you work. You choose on the left, check in the middle and project on the right.
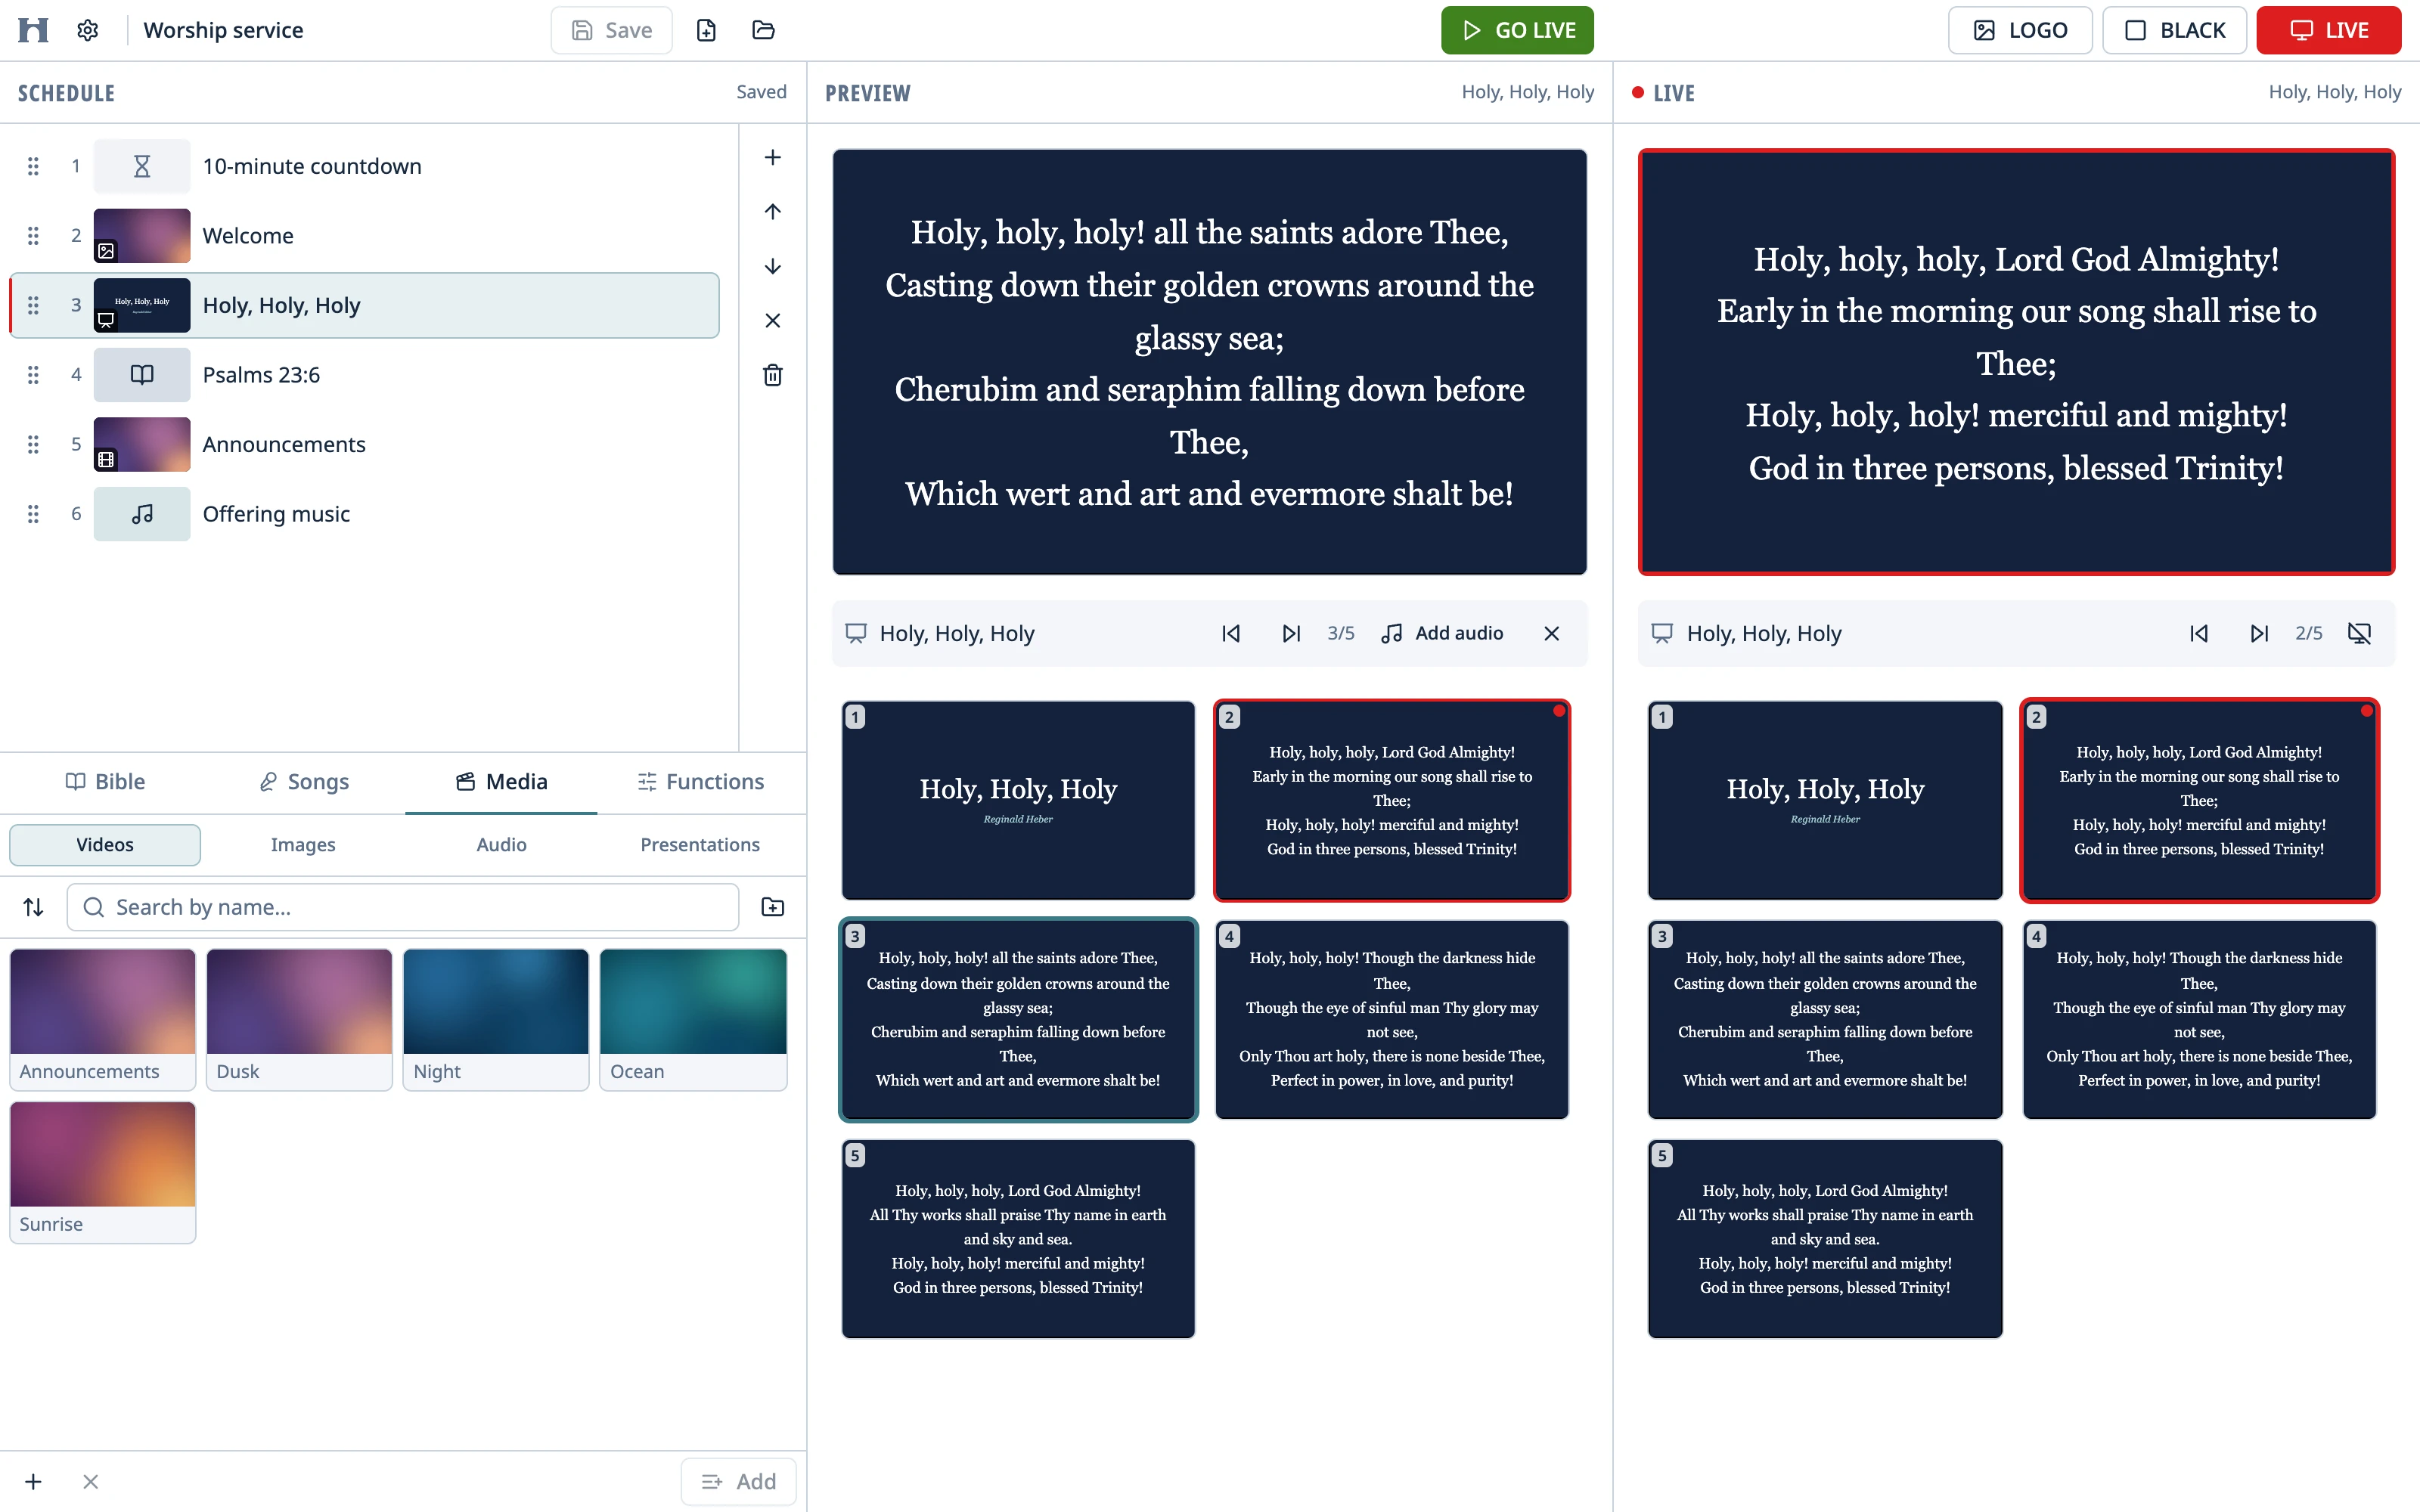
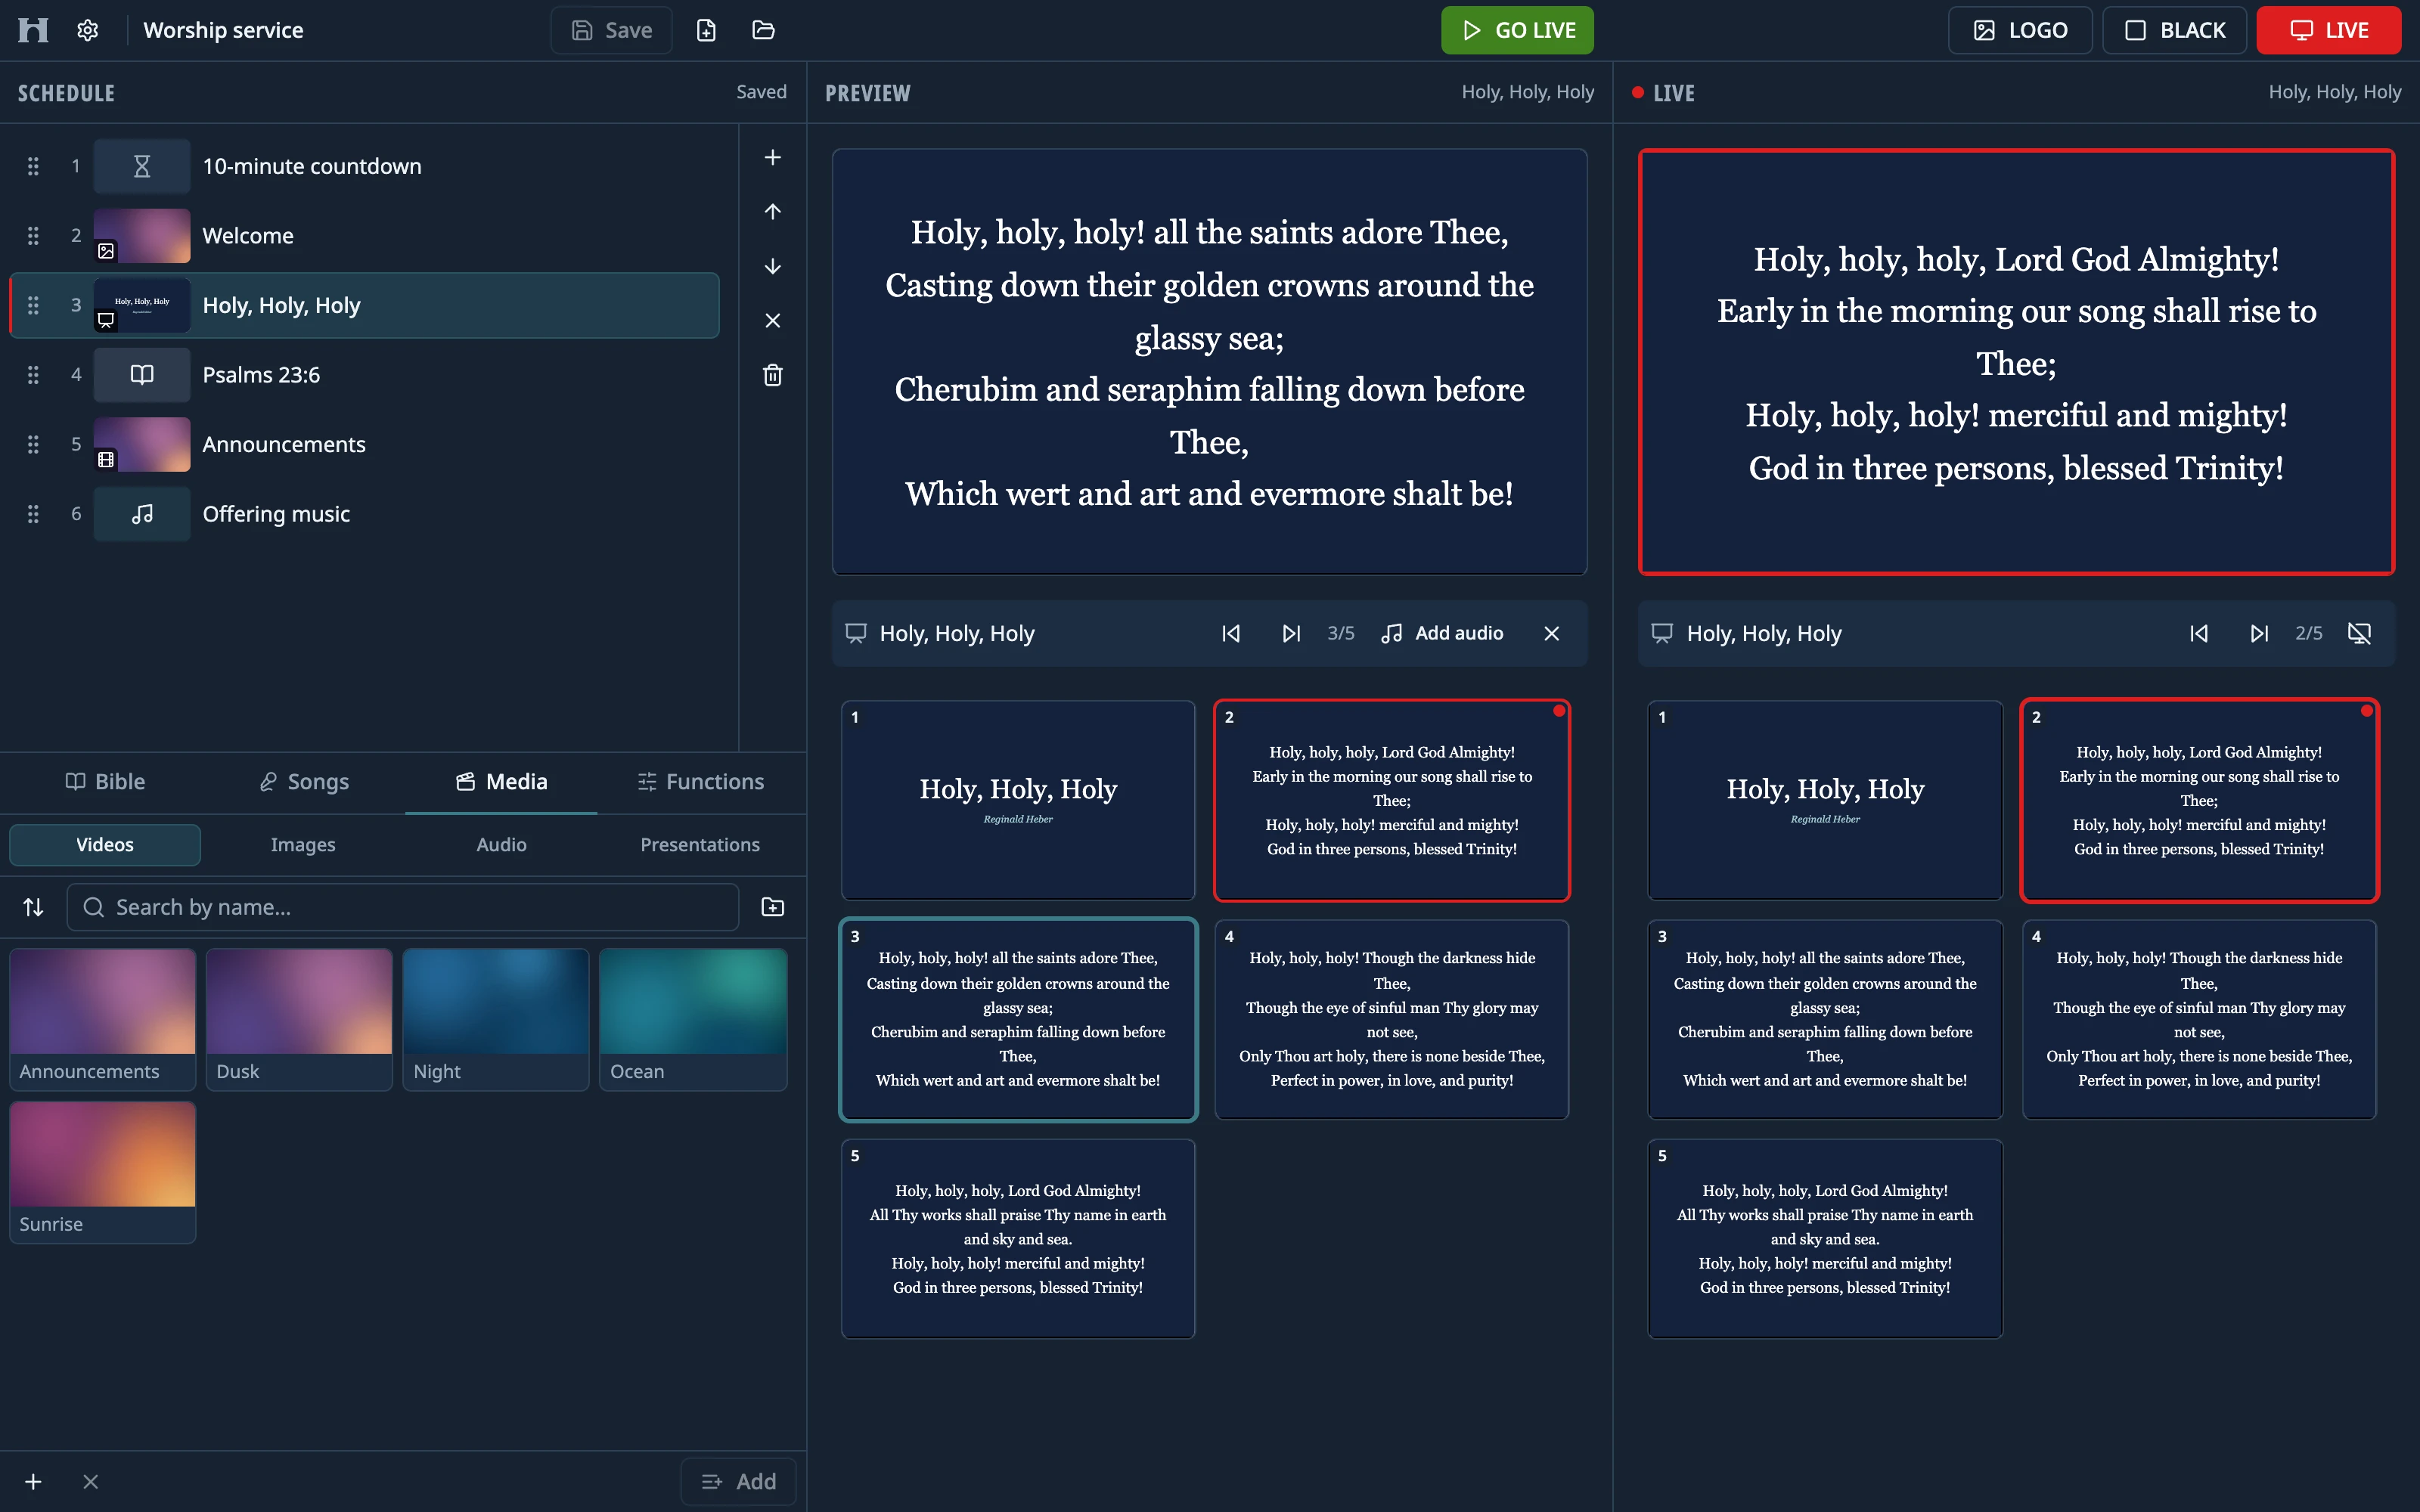
On the left: the schedule and the resources
- At the top is the Schedule, your order of service from top to bottom. See Build the service schedule.
- Below it, four tabs: Bible, Songs, Media (videos, images, audio and presentations) and Functions (timers and overlays).
In the middle: Preview
Whatever you choose appears on the Preview monitor. That's only for you; the congregation doesn't see it. Under it is a row with the item's name (the ✕ clears Preview, and a video or audio file has its bar and volume there). Further down are the slides or verses of what you chose, so you can check them and pick where to start.
On the right: Live
The Live monitor shows exactly what the congregation sees. Under it there's a row for each thing on air with its controls (next and previous slide, pause for a video, volume, Take off air), and the grid of slides or verses.
- A red dot next to Live and a red border around the monitor mean something is being projected.
- If the header says Projector off, the projection window isn't open. Click Open projector next to it to open it on BLACK, then LIVE to show what was live.
- When the header shows BLACK or LOGO, that's what the congregation is seeing: either the screen is covered, or nothing is live and the logo is up.
The top bar
| Button | What it does |
|---|---|
| Gear: Settings | All the options: the projector screen, the logo, the language and more. See Settings. |
| Save (floppy disk) | Saves the schedule. It's only active when there are changes. If the schedule has never been saved, it opens Schedules so you can name it. |
| Page with a +: New schedule | Starts a blank schedule. If there are unsaved changes, it asks first: Discard and start new, or Save and start new if the schedule was saved before. |
| Folder: Manage schedules | Your saved schedules. |
| GO LIVE | Sends what's in Preview to the projector. |
| LOGO, BLACK and LIVE | Choose what the projector shows: the logo, a black screen or what's live. When they're on, LOGO and BLACK turn amber and LIVE turns red. |
Between the gear and Save is the name of the open schedule, or Untitled if you haven't saved it yet. GO LIVE is grayed out while Preview is empty, and so is LIVE while nothing is live. Hover over GO LIVE, LOGO or BLACK to see its keyboard shortcut.
Tip: Red always means “this is on the projector right now”, whether it's the red bar on a schedule row or the red border on a slide or around the Live monitor. Amber warns you that BLACK or LOGO is covering the screen. Teal just marks what you've selected.
Notices
Notices pop up at the bottom left and disappear after 5 seconds, with a bar that counts down. Hovering over one keeps it open. That's also where Undo appears when you remove something.
Full-screen views
Settings, Schedules and the editors (for songs, themes, scenes, overlays and the verse style) open full screen, over the control window. In an editor, the item you're editing is in the middle and its options are on the right, in collapsible sections. A small Live monitor at the top right shows what's on the projector. While these screens are open, the keyboard shortcuts don't affect the projector (how the keys work there).
Something didn't work the way the guide says? Tell us on GitHub what you did, what you expected and what happened, and we'll see whether the app or the guide needs fixing. Report a problem (opens in a new tab)